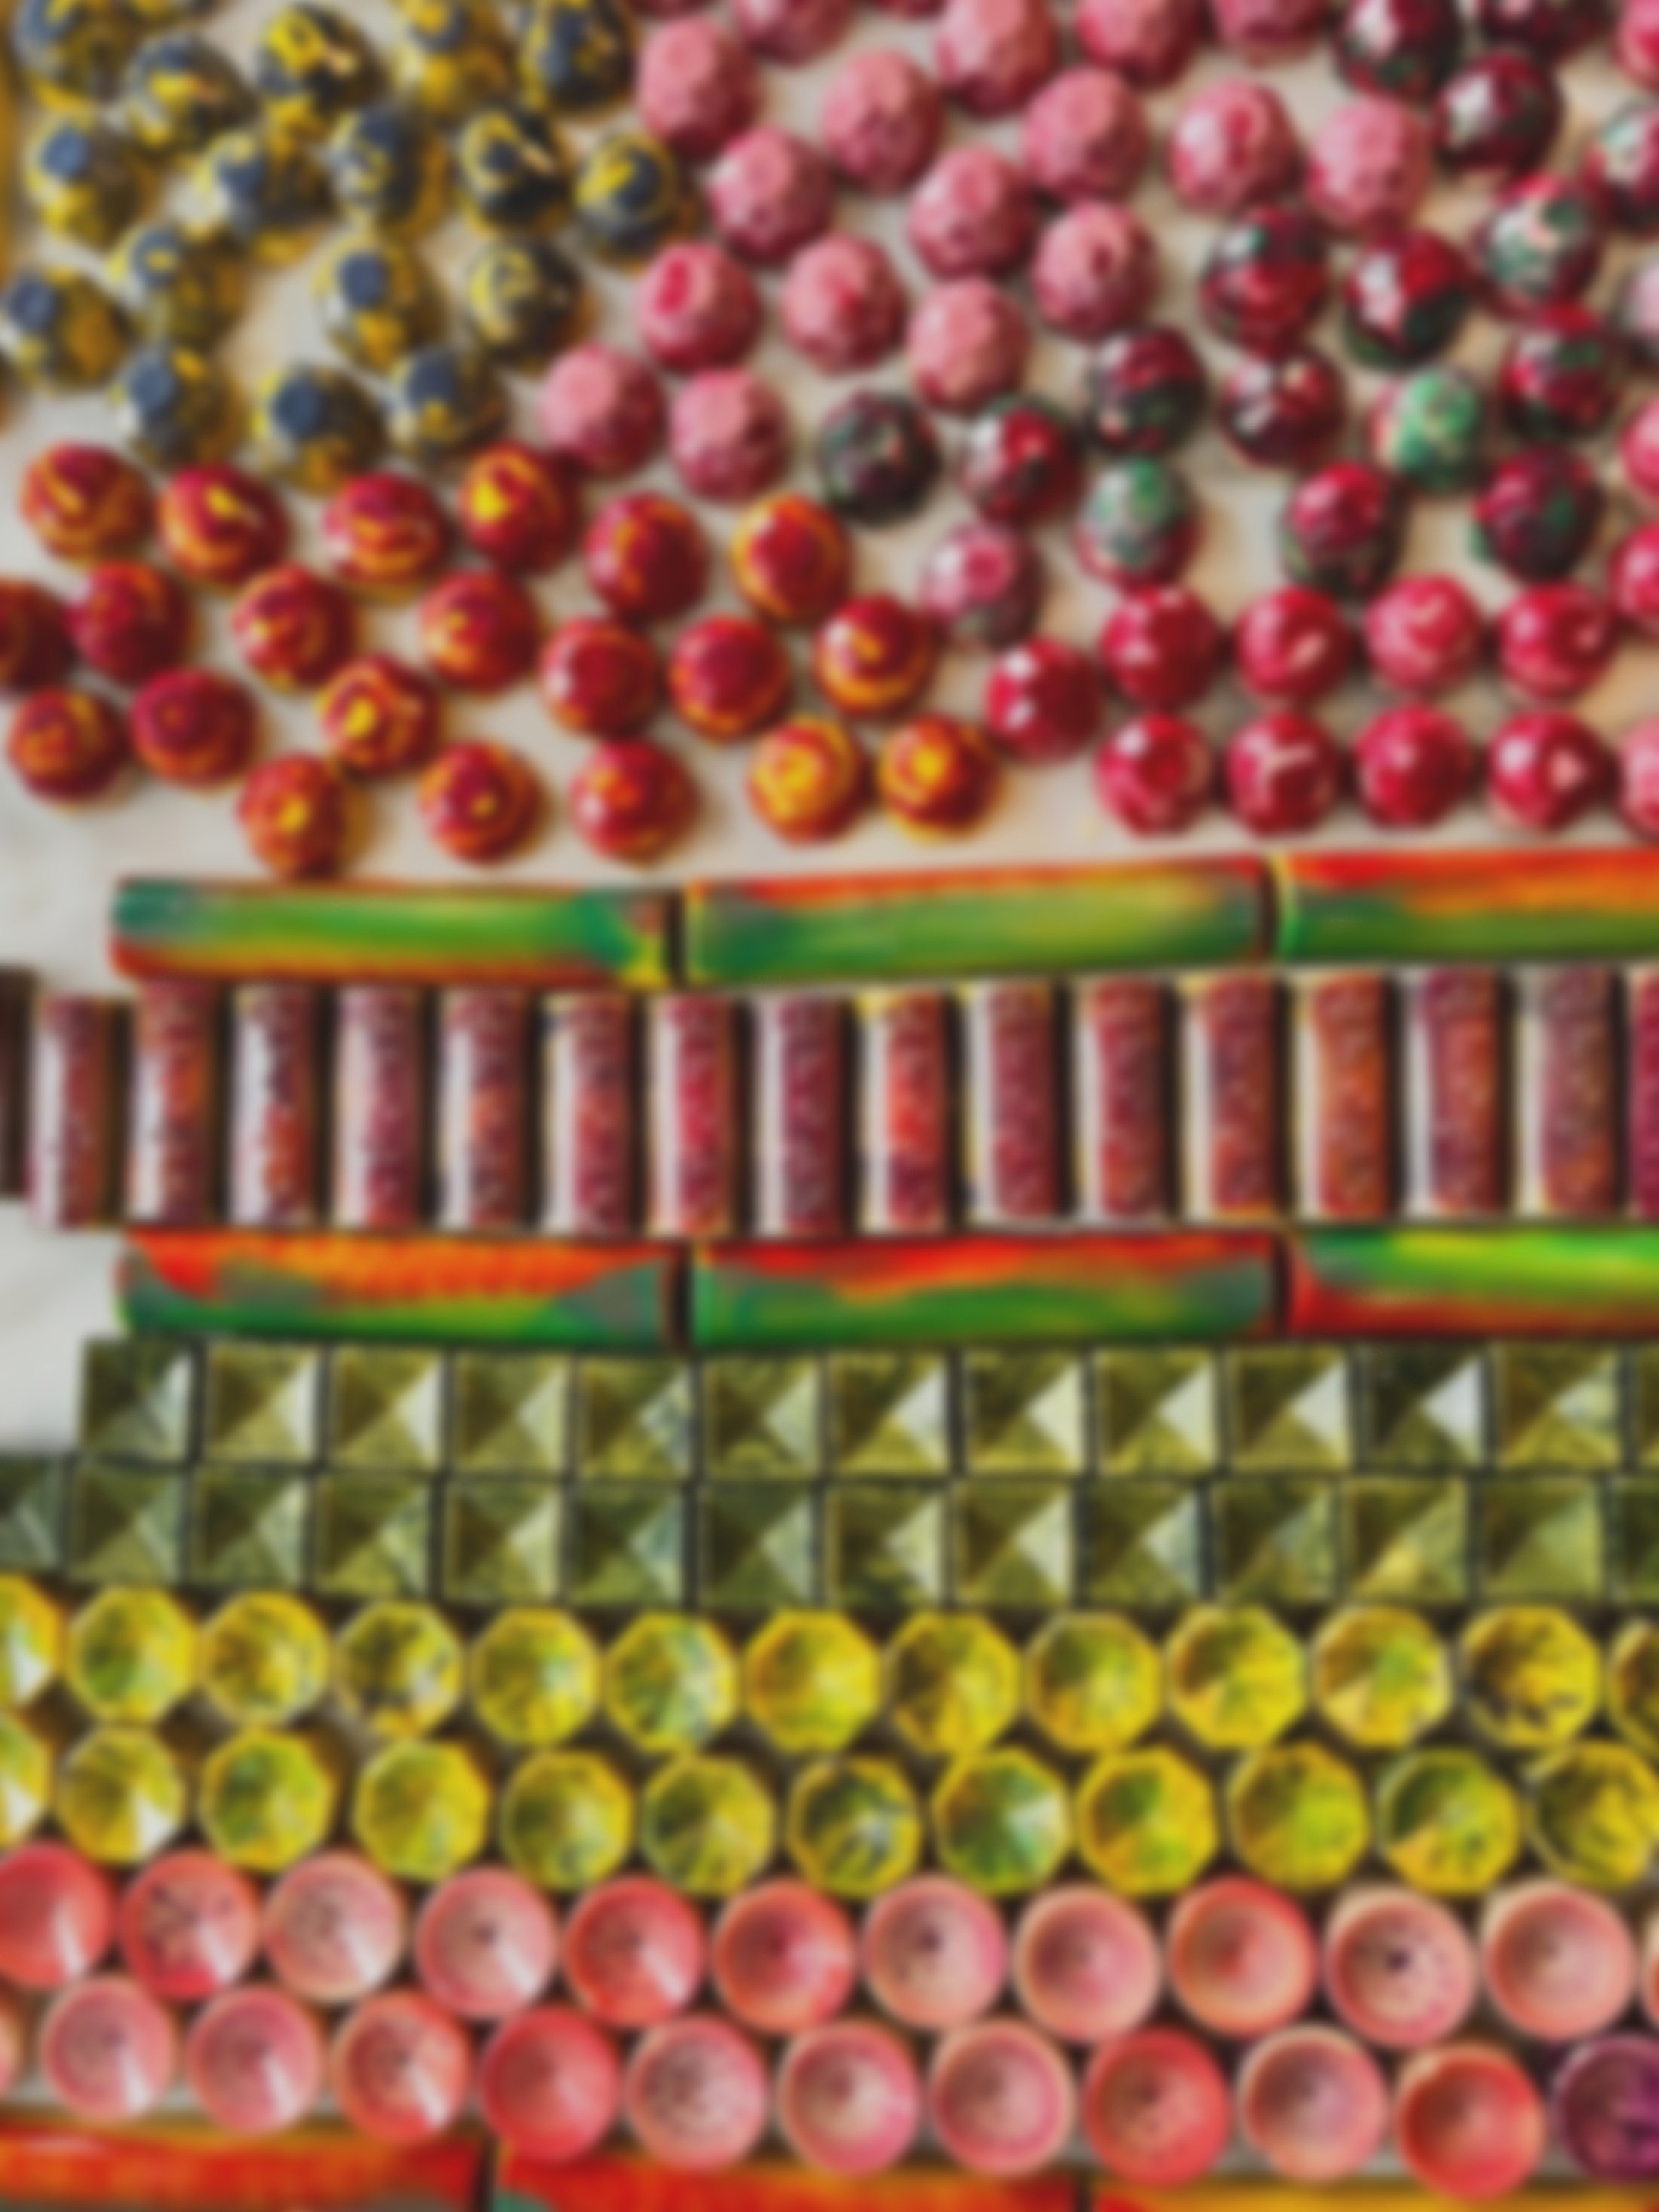
A week in Nanou’s chocolate lab…

Eating a piece of chocolate can be compared to drinking a a glass of wine.
It takes passion and work to get to
the explosion of flavors that you will experience.
My Philosophy
I limit my production to avoid waste.
My production will stay small to allow an artisanal approach.
I use fresh, high quality ingredients.
My chocolates are 100% vegan, gluten-free, but full of nuts (using almonds, hazelnuts, cashews and walnuts - no peanuts).
My chocolates are close to 100% plant-based. I often used white colored cocoa butter for the decoration of the chocolates. The white colored cocoa butter is labeled as 100% natural coming from a mineral source.
If you are allergic to these nuts, the pâtes de fruit, the brioche and the non-vegan canelés might be your best bet.

The journey starts long before my work, in cocoa plantations.
I select my chocolate couverture from sources committed to
a fair and sustainable production of cocoa.
I’ll skip these early steps and focus on what’s going on in my lab.
Never Alone in my Lab!
Except for “DAY 1”, when I need to get organized,
there is always a story or two to keep me company.
I love to listen to audiobooks, mostly fiction.
They are a full part of my pace, as my days go….
DAY 1 - more like a half day
Step 1 - Design of the batch:
Flavors, colors, shapes are all important factors, which vary with seasons, demand, and the mood of the day!
Step 2 - Planning:
Even the decoration of the molds needs to be organized in a specific order, to optimize my time. The order picked to airbrush each color will have an impact on the final result. Each change involves some time-consuming cleaning of the airbrush.
Step 3 - Create colors:
Some I buy but some I make, either by mixing a couple of colors or by mixing color powders with cocoa butter. If I do that, I need to plan it, at least 24-hour ahead, to let the color rest.
DAY 2 - depending on quantity - it can be a full day
Step 4 - Decoration: painting and airbrushing.
Follow the plan, but be ready to adapt if a color does not meet the expectation of the design. I like alternating between painting and airbrushing. While I use brushes, sponges and more, the airbrush gets a break. Both ways are so much fun and rewarding.
Step 5 - Prepare the fillings.
DAY 3 - depending on quantity - it can be a full day
Step 6 - Shelling, piping, shell cap.
Step 7 - Dipping, if I have any leftover of the fillings.
DAY 4 - more like a half day if all goes well
Step 8 - Un-mold (this can go wrong if the chocolate was not tempered correctly!).
Step 9 - Take pictures of the batch.
Step 10 - Box-it all.
Step 11 - Label-it all.
Step 12 - Deliver / Ship-it all.

