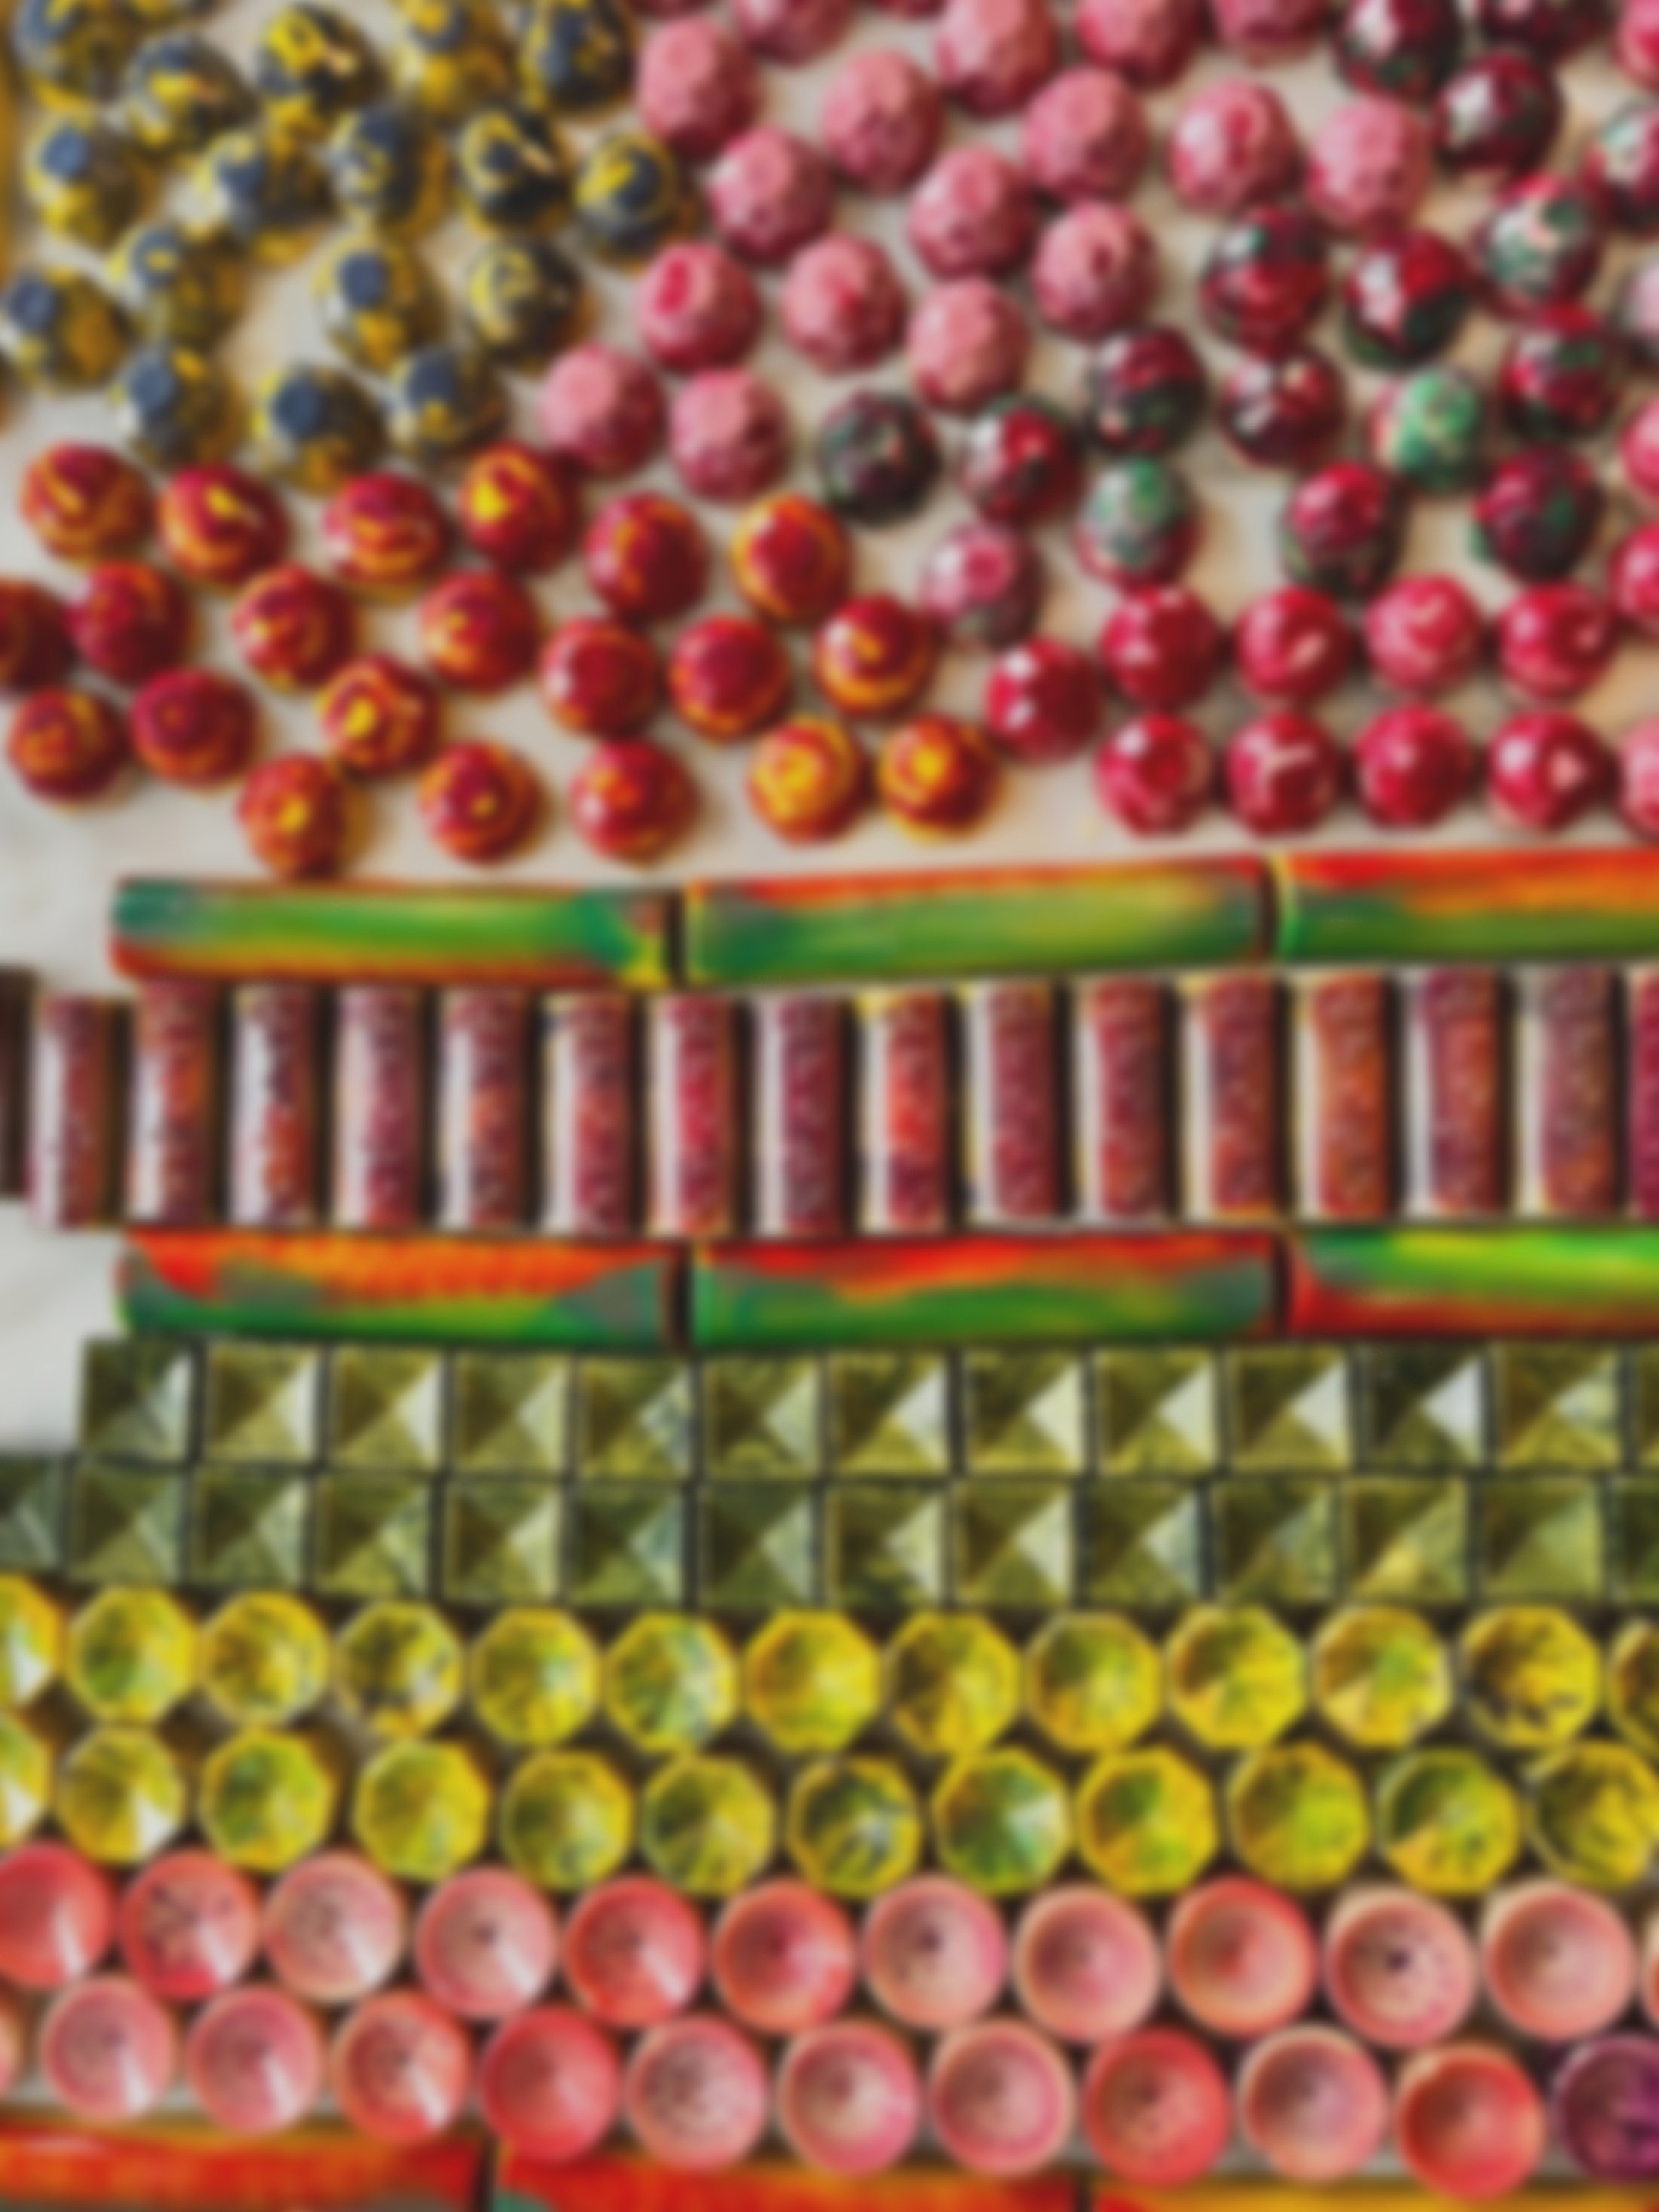
A week in Nanou’s chocolate lab…

Eating a piece of chocolate can be compared to drinking a a glass of wine
It takes passion and work to get to
the explosion of flavors you will perceive
while tasting the final result.
My Philosophy
I look for quality and freshness in the ingredients I use (check Nanou’s sources for more details)
I limit my Production: based on-demand to avoid waste (see calendar to understand when to order)
My production will stay small to allow an artisanal approach
By now, you got it! My chocolates are 100% plant-based, also gluten Free but full of NUTS (using Almonds, Hazelnuts. Cashew Nuts and Walnuts - no peanuts)
If you are allergic to these nuts, the pâtes de fruit, the brioche and the non-vegan canelés are your best bet

The journey starts long before my work in cocoa plantations
I select my chocolate couverture from sources committed to
a fair and sustainable production of cocoa
I’ll skip these early steps and focus on what’s going on in my lab
Never Alone in my Lab!
Except for DAY 1 when I need to get organized, there is always a story or two to keep me company.
I love to listen to audiobooks, mostly fiction and they are a full part of my pace as my days go….
DAY 1 - more like a half day
Step 1 - Design of the batch:
Flavors, colors, shapes are all important factors which vary with seasons, demand and the mood of the day!
Step 2- Planning:
Even the decoration of the molds needs to be organized in a specific order to optimize my time. The order picked to airbrush each color will have an impact on the final result and each change involves some cleaning of the airbrush.
Step 3- Create colors:
some I buy but some I make either by mixing couple of colors or by mixing fat dispersible powder with cocoa butter. If I do that I need to plan at least 24-hour ahead to let the color rest.
DAY 2 - depending on quantity - it can be a full day
Step 4 - Decoration: painting and airbrushing
Follow the plan but be ready to adapt as well. I like to alternate between painting and airbrushing. While I use brushes, sponges and more, the airbrush gets a break. Both ways are so much fun and rewarding
Step 5 - Prepare Fresh Fillings
DAY 3 - depending on quantity - it can be a full day
Step 6 - Shelling, piping, shell cap
Step 7 - Dipping if I have any leftover fillings that won’t fit in the molds
DAY 4 - more like a half day if all goes well
Step 8 - un-mold
Step 9 - take pictures of the batch
Step 10 - Box-it all
Step 11 - Label-it all
Step 12 - Deliver / Ship-it all
Step 13 - Clean up time
Step 14 - Observations and Notes saved digitally
End of the story!
Check my blog to hear which story accompanied me on my last round…

